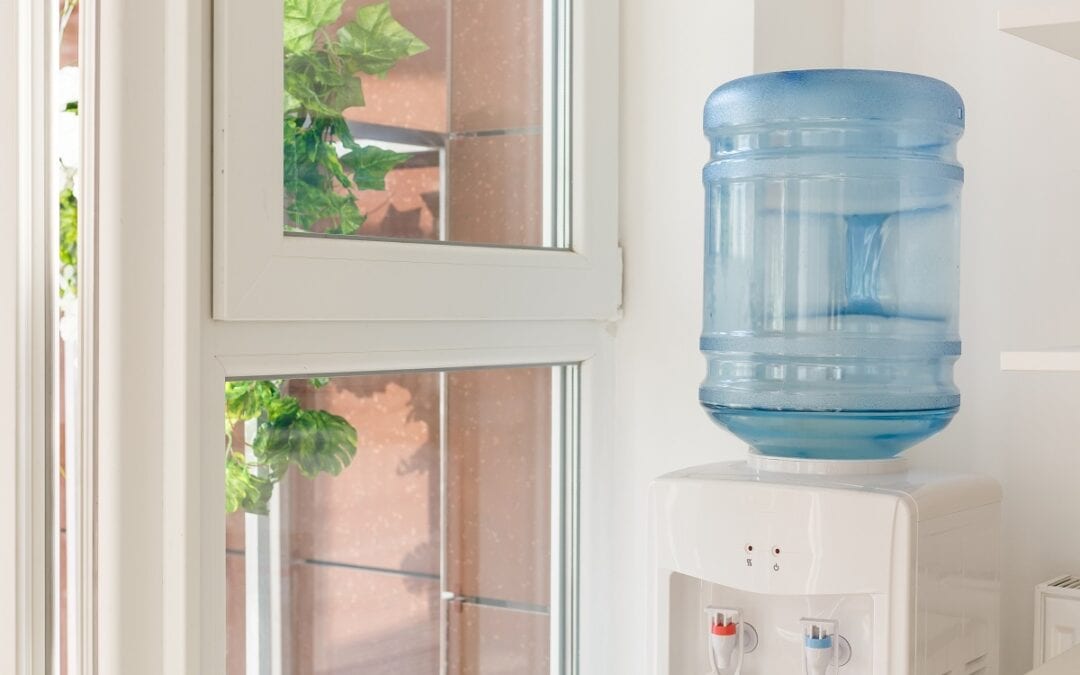
If You Want Great-Tasting Water, You Need to Know How to Sanitize a Water Cooler
Knowing how to sanitize a water cooler properly can mean the difference between Colorado pure, great-tasting water that keeps folks healthy and hydrated and unappealing and potentially harmful water.
You could have a water bottle full of the freshest, purest water on earth and it won’t matter if the water runs through a bottled water cooler full of bacteria and other impurities. You need to clean and sanitize a water cooler approximately every two to three months to keep the dispenser free of potentially harmful bacteria.
On the plus side, very little time and effort are required to sanitize a water cooler. Just follow these easy steps and you’ll ensure that you have fresh water for months to come.
1. Sanitize a Water Cooler Step One: Empty and Unplug
Wait until you’ve emptied and removed a water bottle before cleaning the cooler. If the water cooler uses electricity to heat or cool the water then unplug the cooler to avoid electric shock or tripping over the cord.
2. Select and Mix a Cleaning Solution
You can choose between two cleaning solutions to sanitize a water cooler. You can make a gentle bleach solution using unscented bleach by mixing one gallon of water with one tablespoon of bleach. Alternatively, you can make a vinegar-based cleaning solution by mixing one quart of plain, white vinegar with three quarts of warm water, stir well.
3. Inspect and Remove Buildup
With the water bottle removed, you will be able to see the valve and top of the water bottle holder. Look for any dirt build-up or mildew and remove it with a paper towel. If there are particularly stubborn patches of gunk, make a mix of baking soda and water and use that with a scrub brush to get them off.
4. Remove the Water Guard
Many, but not all, water coolers have a guard that punctures the water bottle when installed. If yours has a guard, remove it, rinse it off with some tap water, and then wipe it clean with your disinfecting solutions. Rinse it again and then let dry.
5. If You Can, Remove and Clean the Drip Guard
If possible, remove the drip guard and any tray or trivet that’s below the spigot. Rinse the grip under tap water and wipe gently with the disinfecting solution, using your baking soda paste on any particularly tough stains or mildew. Rinse and set aside.
6. Disinfect the Water Reservoir
The water reservoir is where your cleaning solution really gets to work sanitizing your water cooler. Pour any unused solution into the reservoir through the top of the water dispenser. Let it sit in the reservoir for three to five minutes and then drain the solution through the spigots. If you have hot and cold spigots, alternate between them to ensure they are both clean.
7. Rinse Out the Reservoir
After you disinfect the reservoir, you want to flush out any remaining solution. Do so by pouring two gallons of clean water into the reservoir and then draining the water through each spigot. After that, fill the reservoir with another gallon of clean water and take a sip. If you can smell or taste vinegar or bleach, add another two gallons of clean water, drain again, and retest.
8. Replace Any Removed Parts and Plug the Cooler Back In
Once the water tastes and smells clean, replace any removed parts, and install a new bottle. Plug the cooler back in and wait 30 minutes to an hour for the water to chill.
9. Clean the Drip Tray
Take off the drip tray cover and get rid of any excess water with a cloth. Clean the drip tray using either a vinegar or bleach and water solution.
Clearly Colorado: The Front Range’s Choice for Office Water Delivery
At Clearly Colorado, we share a commitment to delivering the purest, highest quality water available on the Front Range using trucks that run on environmentally friendly green diesel fuel. We are passionate about customer service and have a well-earned reputation for dependability, consistency, and trustworthiness.
To find out why so many Colorado businesses do business with us, please contact us for a free quote.


